For example, to create a material that converts color to grayscale:
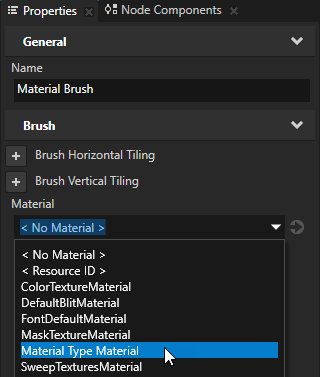
- In the Library press Alt and right-click Materials and Textures and select Material Type.
Kanzi Studio creates a material type and a material which uses the material type.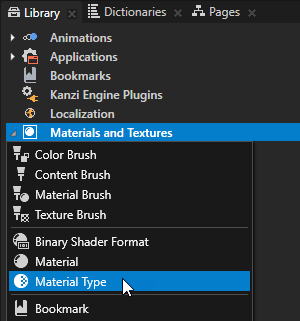
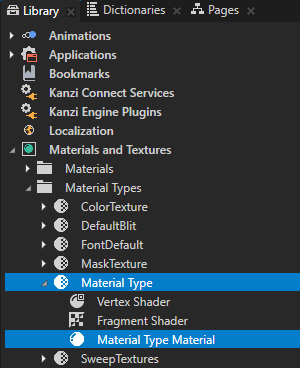
- In the Library > Materials and Textures > Material Types expand the material type you created, double-click the Vertex Shader to open it in the Shader Source Editor, replace the existing shader code with this code, and save the shader.
attribute vec3 kzPosition; attribute vec2 kzTextureCoordinate0; uniform highp mat4 kzProjectionCameraWorldMatrix; varying mediump vec2 vTexCoord; void main() { precision mediump float; vTexCoord = kzTextureCoordinate0; gl_Position = kzProjectionCameraWorldMatrix * vec4(kzPosition.xyz, 1.0); } - Open the Fragment Shader, replace the existing shader code with the code in this step, and save the shader.
In the shader use these Kanzi default uniforms:ContentTextureto define the texture that the rendered node provides when renderingRenderOpacityto define the opacity of the rendered node
uniform sampler2D ContentTexture;
varying mediump vec2 vTexCoord;
uniform lowp float RenderOpacity;

void main()
{
    precision mediump float;
    // Use this algorithm to convert the colors in the texture used by
    // the 2D node to grayscale.
    // To integrate to the Kanzi rendering pipeline, the shader must output
    // premultiplied alpha.
    vec4 color = texture2D(ContentTexture, vTexCoord);
    float grayscale = dot(color.rgb, vec3(0.21, 0.72, 0.07));
    float alpha = color.a * RenderOpacity;
    vec3 premultipliedColor = vec3(grayscale) * alpha;
    gl_FragColor = vec4(premultipliedColor, alpha);
}
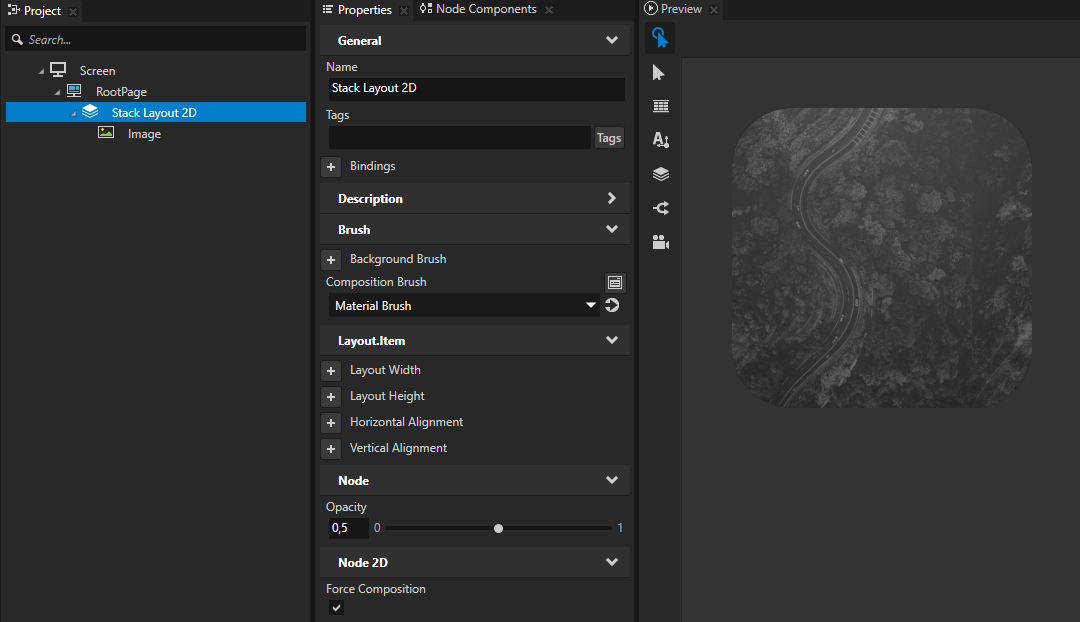
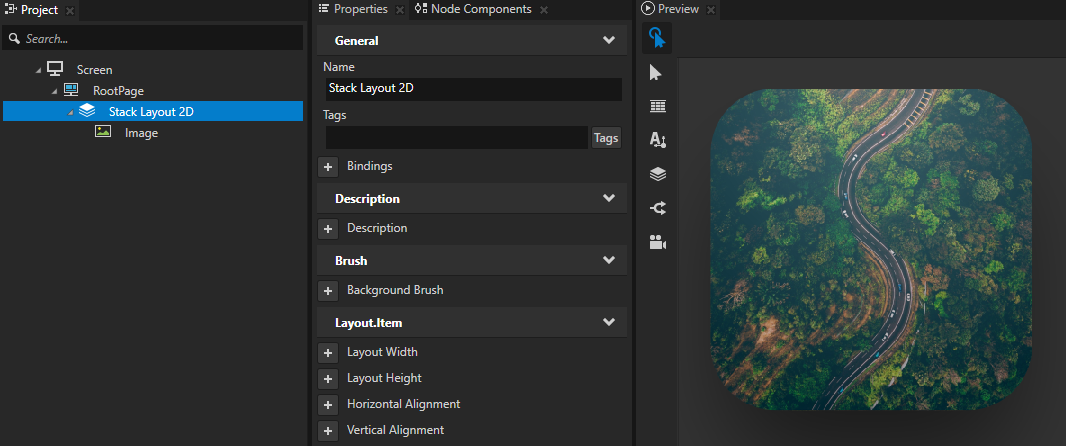
For example, create a Stack Layout 2D node and inside the Stack Layout 2D node create an Image node.
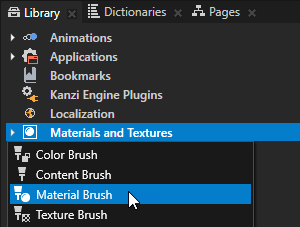
- Composition Brush to the material brush that uses the material you want to apply to that node
- Force Composition to enabled
- (Optional) Opacity to control the translucency of the node